Prerequisites: Logon credentials for installing/upgrading UNIX/Linux servers.
Note: The firewalls between the Management Server and the UNIX/Linux server must allow traffic on TCP port 22 and 1270 from the Management Server to the UNIX/Linux server.
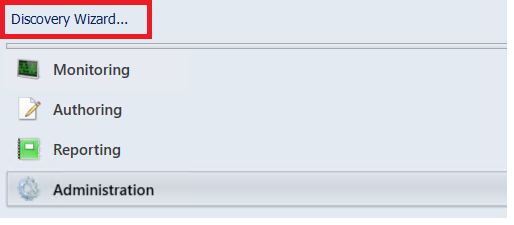
- In the Operations Manager Console go to Administration. At the bottom of the Navigation pane click Discovery Wizard…
- On the Discovery Type page select UNIX/Linux computers and then click Next.
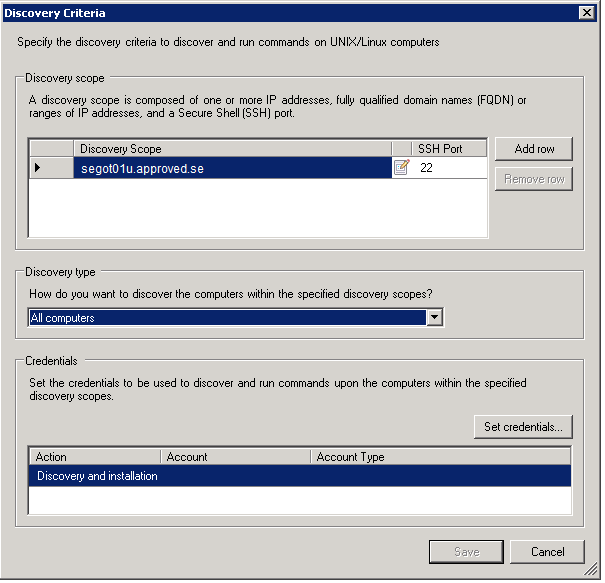
- On the Discovery Criteria page click Add… and under Discovery scope add the IP address or the DNS hostname of the UNIX/Linux server. Under Discovery type select All Computers and click Set credentials…
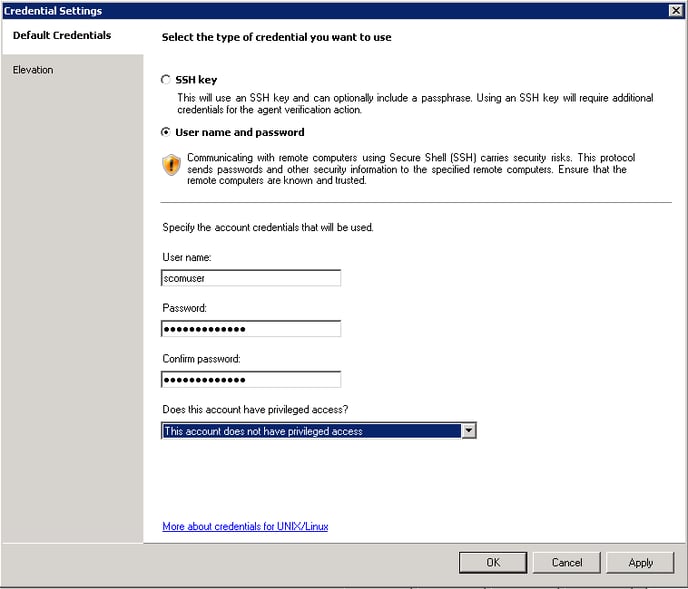
- In the Credential Settings window select the User name and password credential type. Fill in the user name and password and select the This account does not have privileged access option:
- Click OK and then Save.
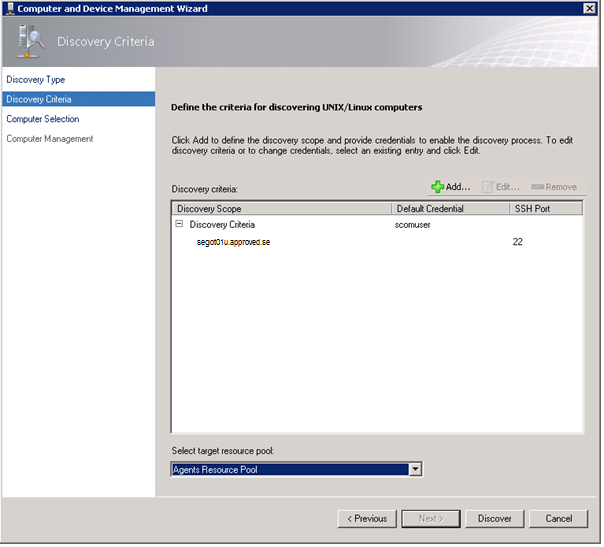
- Back on the Discovery Criteria page select the target resource pool for the UNIX/Linux agents and then click Discover:
- Wait for the discovery to finish and on the Computer Selection page, under Manageable computers, select the UNIX/Linux server and then click Manage.
Note: If the discovery fails, the server will be listed under Additional results. In this case, review the error message, fix the problem and run the discovery again. - On the Computer Management page, after the deployment process is completed, click Done.