Procedure for Installing the VMware PowerCLI Module on a PC with an Internet Connection:
- On a computer with internet connectivity, launch PowerShell, preferably with administrative privileges.
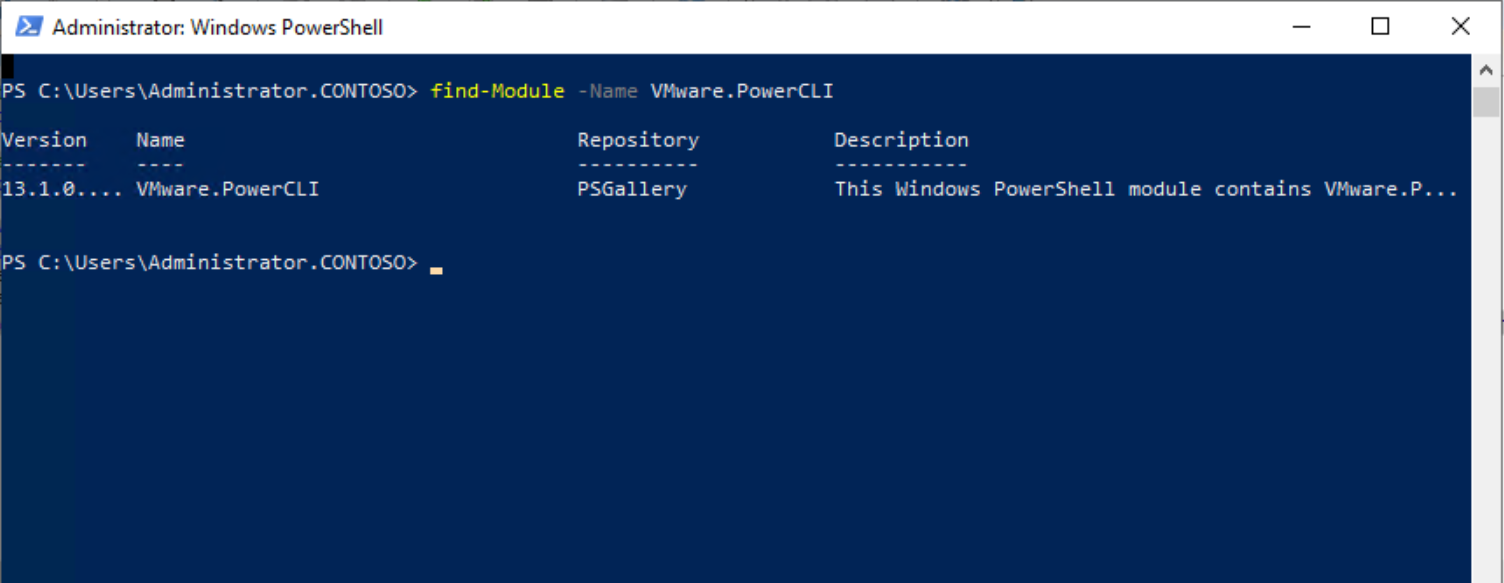
- Enter the command: Find-Module -Name VMware.PowerCLI
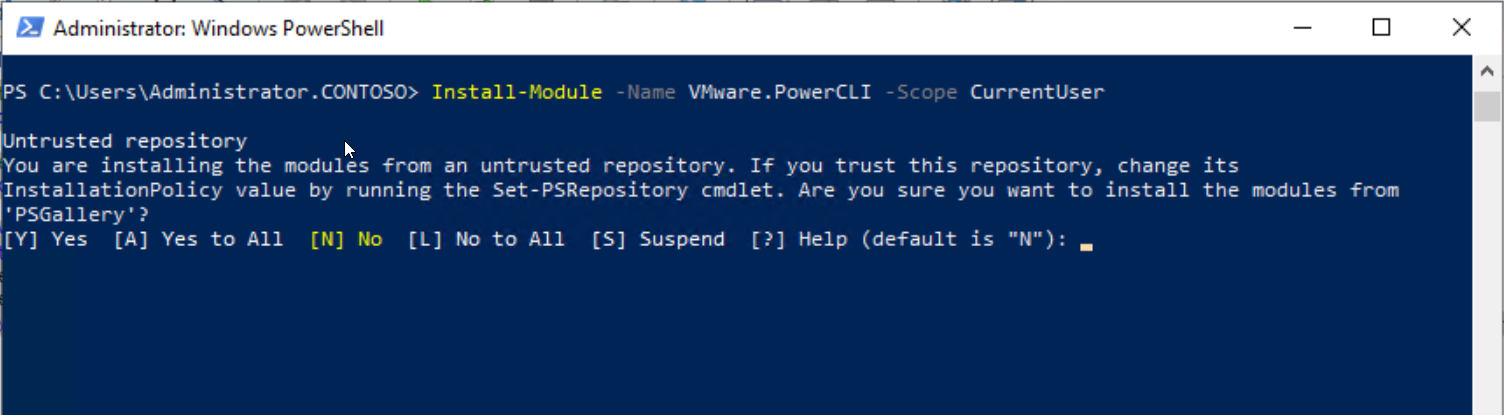
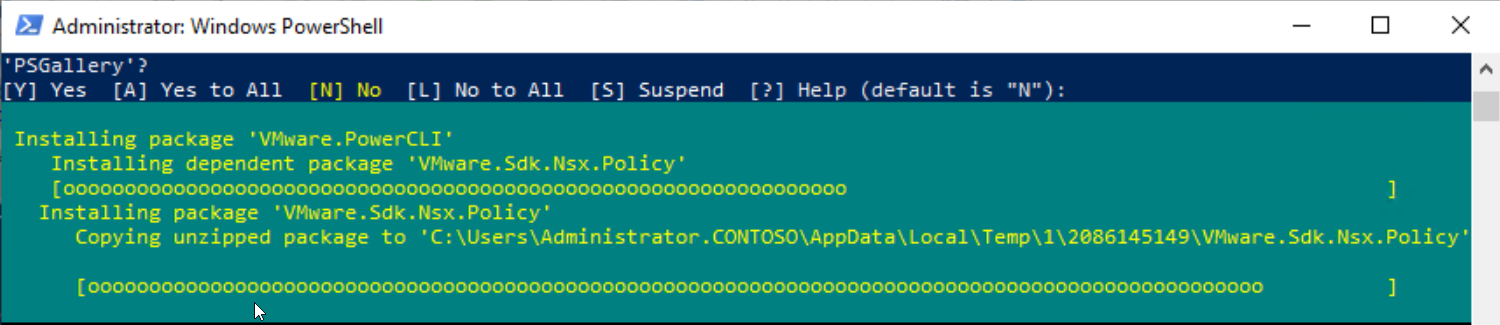
- Install the module with the command: Install-Module -Name VMware.PowerCLI -Scope CurrentUser. Select "A" to install the module.
- To verify the installation, use the command: Get-Command -Module VMWare
Note: The '-Scope CurrentUser' parameter allows PowerShell to install the module without necessitating administrative access.
Set-PowerCLIConfiguration Options
In order not to be prompted to join the VMware’s Customer Experience Improvement Program (“CEIP”) and not to get certificate warning, you can run the commands below:
1. Enter the command: Set-PowerCLIConfiguration -Scope AllUsers -ParticipateInCeip $false -InvalidCertificateAction Ignore

2. Connect a vCenter Server using credentials popup
Connect-VIServer <vCenter FQDN>
3. Get a list of Virtual Machines
Get-VM