by Vincent de Vries, on Jun 5, 2023 11:26:23 AM
With the introduction of SCOM 2022, SCOM now comes with native integration with Microsoft Teams, replacing the old Skype for Business integration. This powerful new update gives users seamless unidirectional access to the latest alerts and notifications within their teams channels. Once set up, notifications like this one will pop up in Microsoft teams channels as you desire, keeping you informed of critical issues as they arise. If you would like fully featured actionable (bi-directional) notifications in Teams, please check out our Teams Connector for SCOM in Microsoft App Source. Our connector is not only much easier to configure, it also allows you to interact with SCOM alerts directly from Teams.
The native Teams connector in SCOM 2022 has a lot of moving parts that need to be configured before you can make use of it, and before you start, you need to be a SCOM admin and have the ability to create an Azure AD Application (App Registration) in the Office 365 tenant which you use for Teams. Let's get right into it:
Creating an App registration in Azure
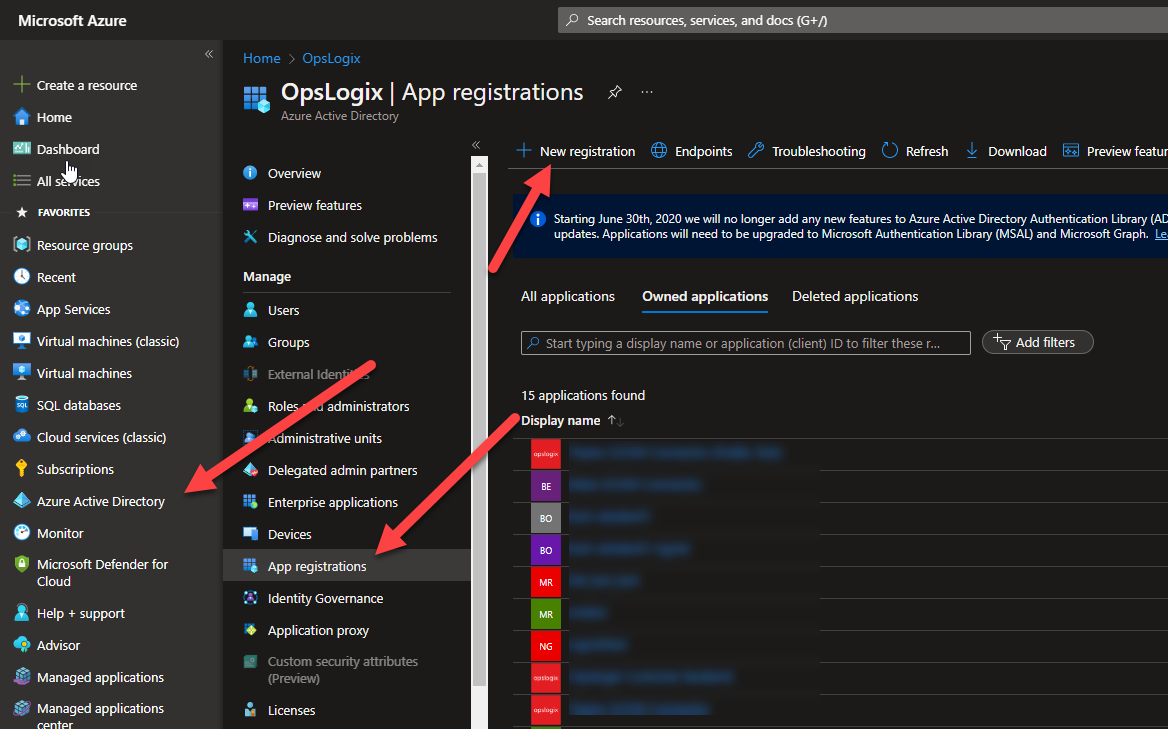
- Login to your Office 365 tenant and navigate to the App registrations blade and the click New registration.
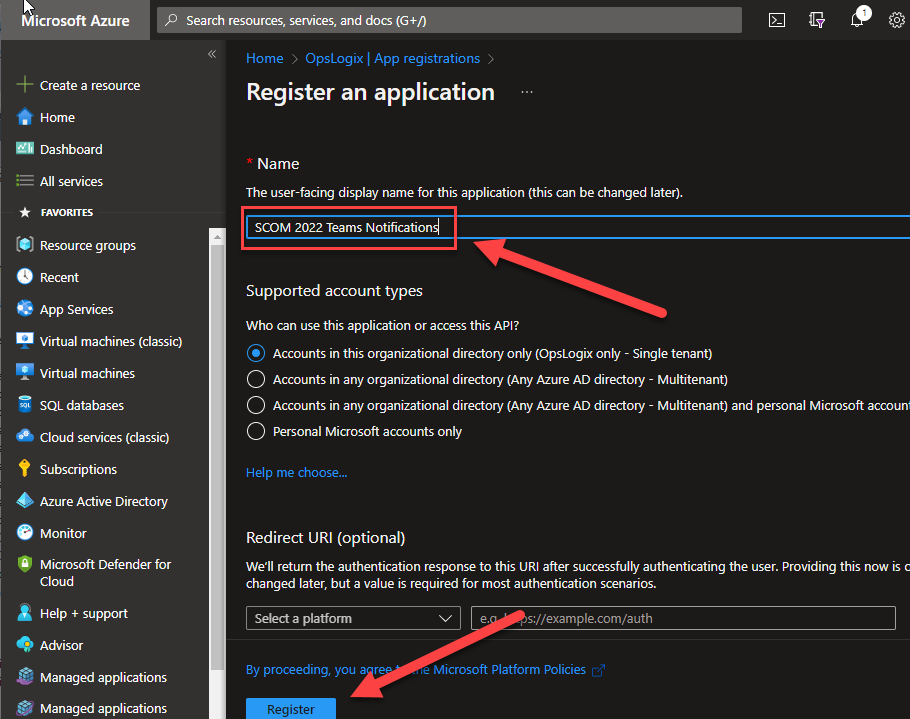
- Enter a descriptive name in the Name field for the App registration and then click Register.
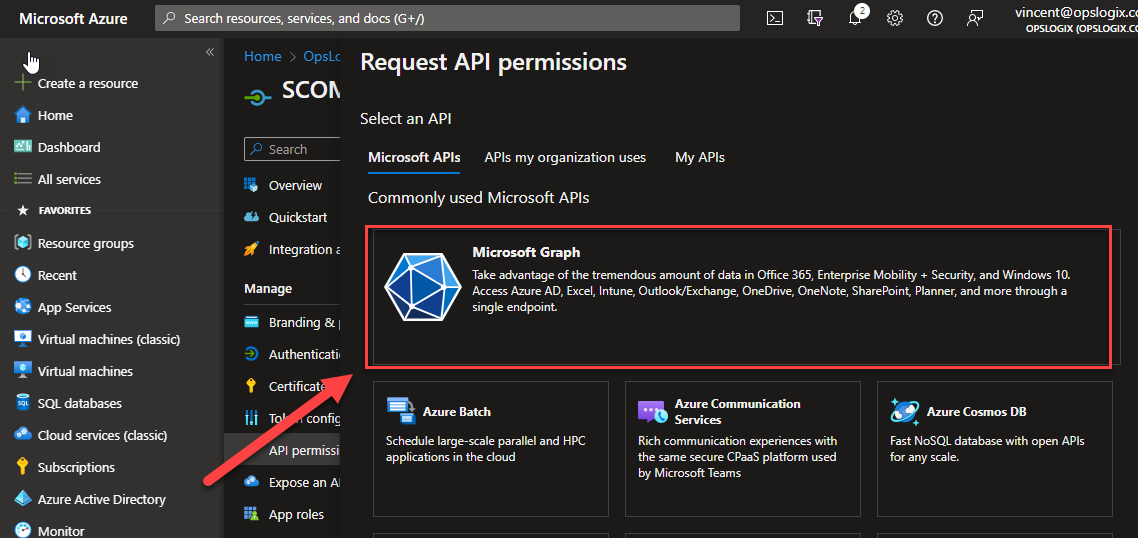
- In the newly created app registration navigate to the API permissions blade and click Add a permission:
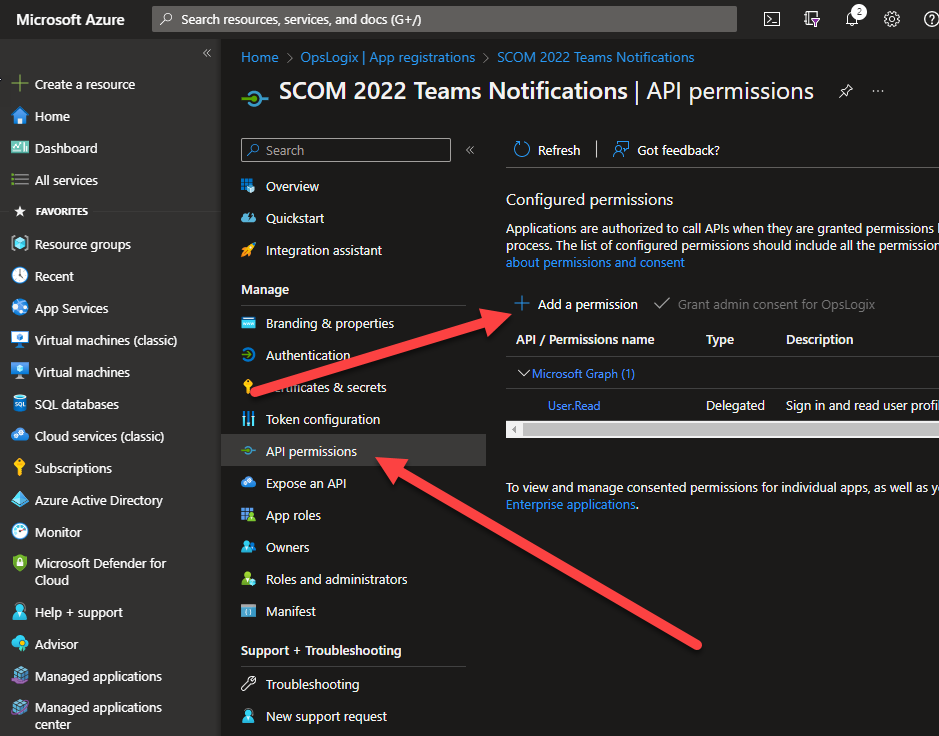
- Click Microsoft Graph to add permissions.
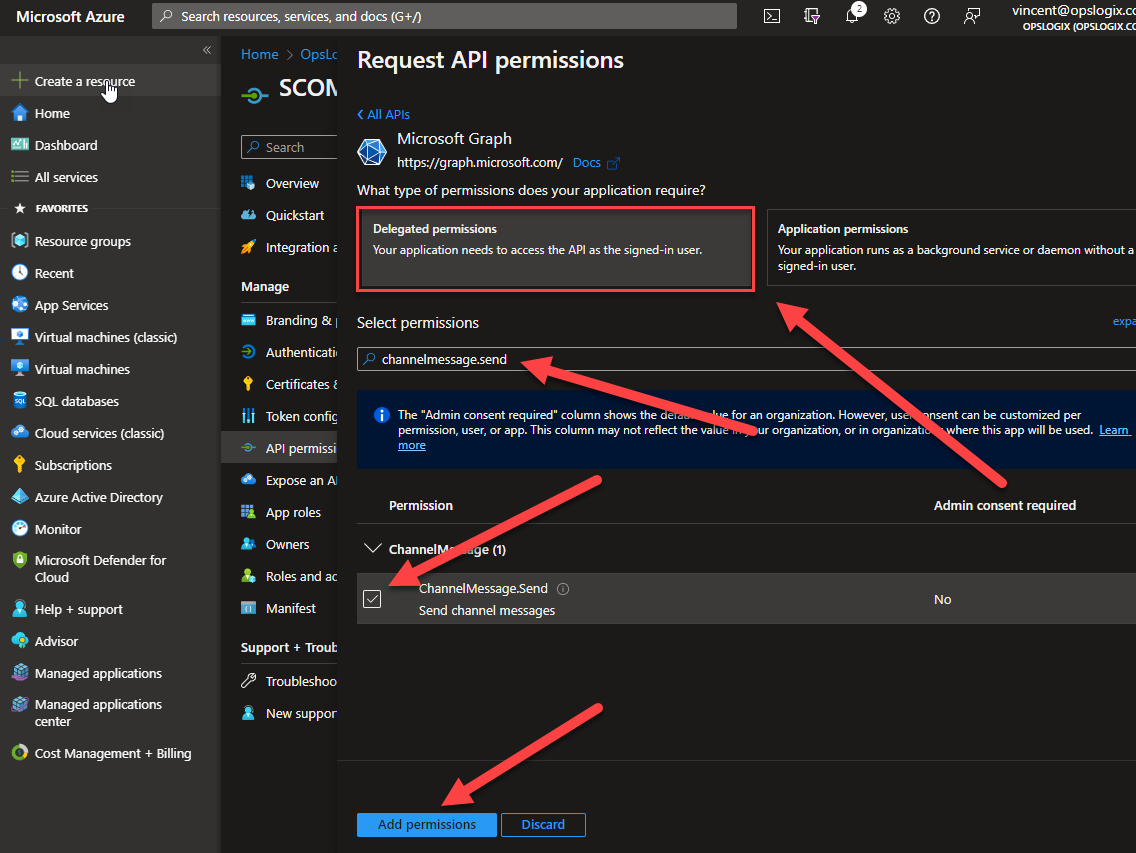
- Click Delegate permissions and then enter channelmessage.send in the Select permissions search box. Check the ChannelMessage.Send checkbox under permissions and then click Add permissions.
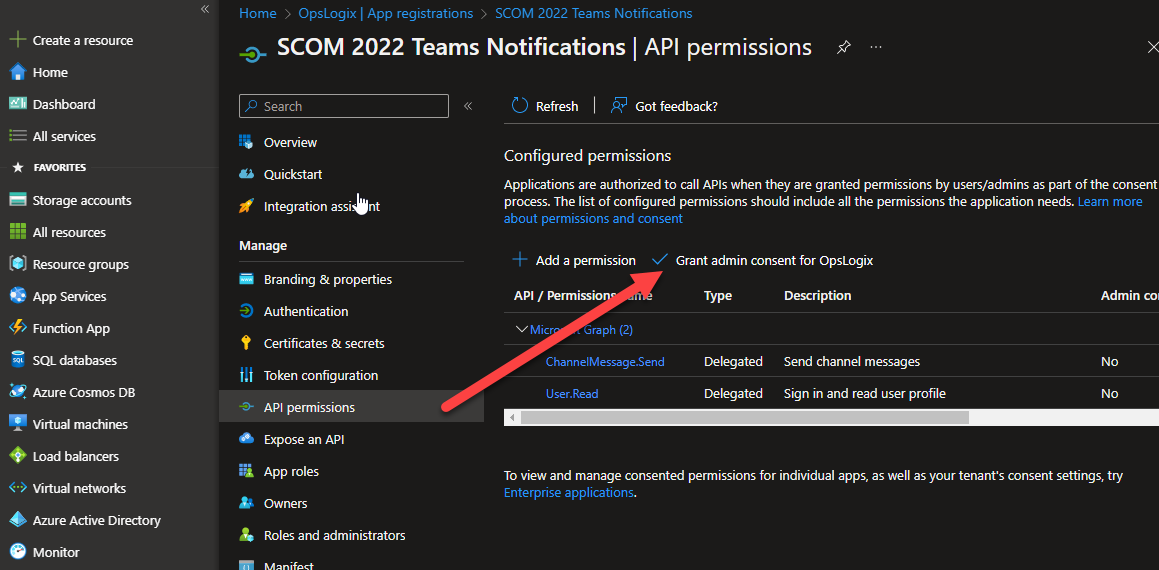
- Click Grant admin consent for <Your Organization Name>. Note: If the Grant admin consent button is greyed out, you need to login with an admin account for your Office 365 tenant.
- Navigate to the Authentication blade and set the Allow public client flow slider to Yes, then click the Save button.

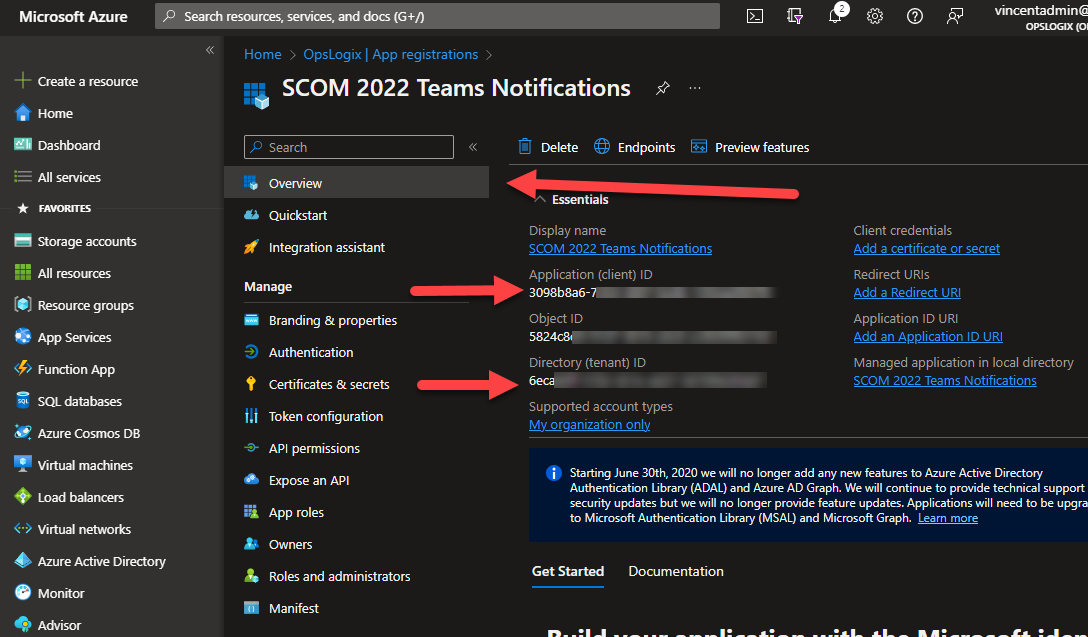
- Navigate to the Overview blade and copy the Application (client) ID and the Directory (tenant) ID. You will need these values when you create the RunAs account in SCOM.
Setting up SCOM
In SCOM we need to configure a couple of items for alerts to be passed to Teams.
Creating a Run As Profile and Run As Account in SCOM
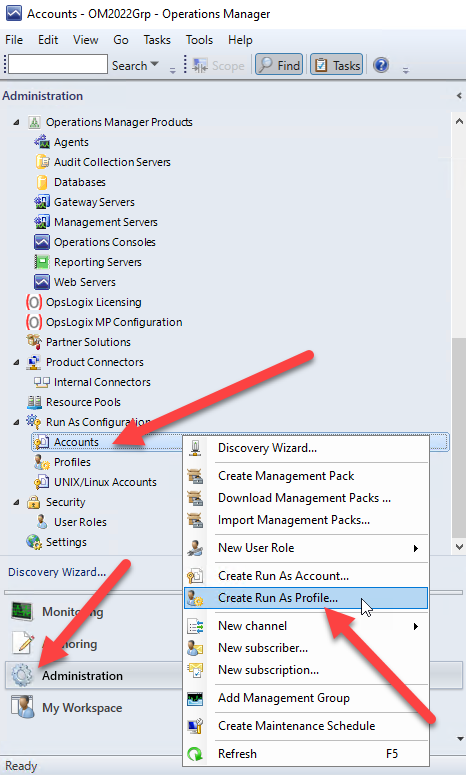
- Navigate to the Administrator section of SCOM, right click Accounts and the select Create Run As Profile...
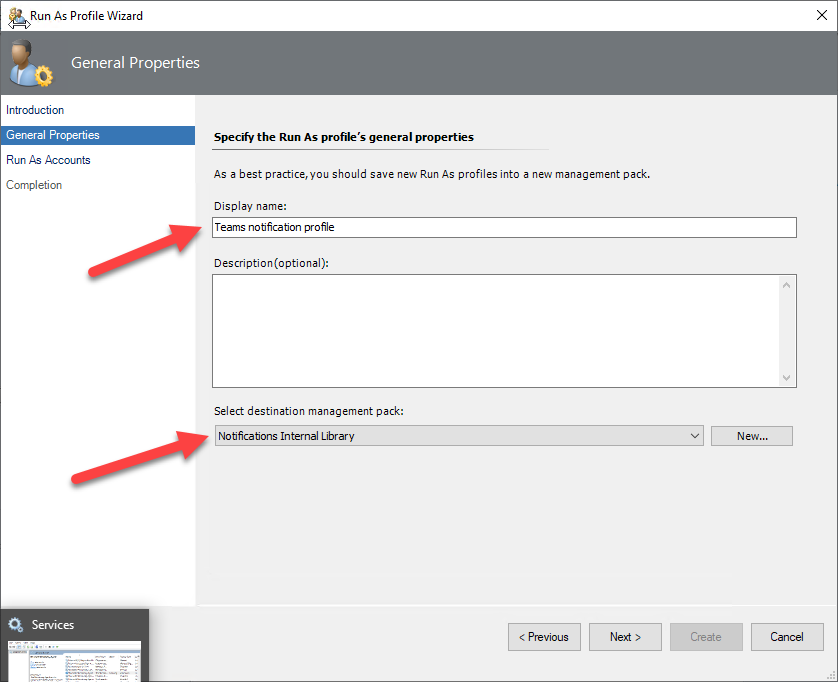
- On the General Properties wizard page enter a logical display name for the Run As profile. Under Select destination management pack select the Notifications Internal Library management pack. Note: You must select the Notifications Internal Library management pack, if you select a different management pack, the connector will not work.
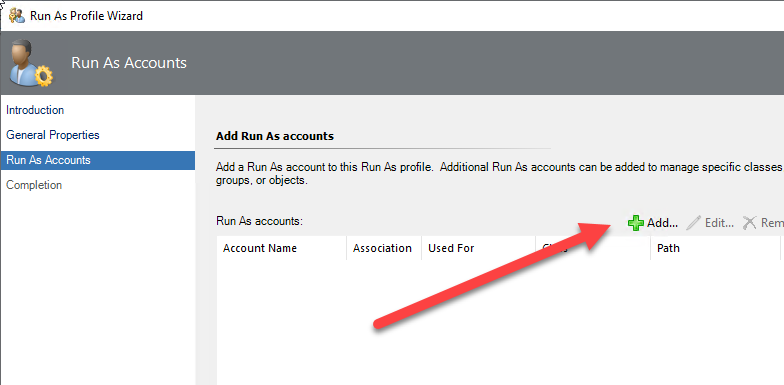
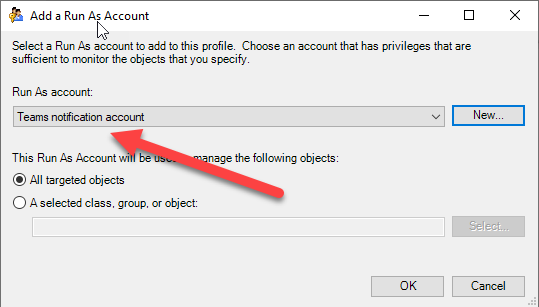
- On the Run As Accounts wizard page click the Add button.
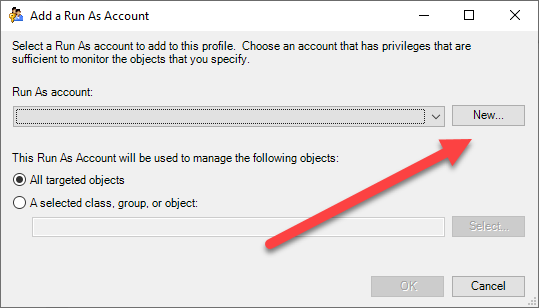
- On the pop dialog click the New button.
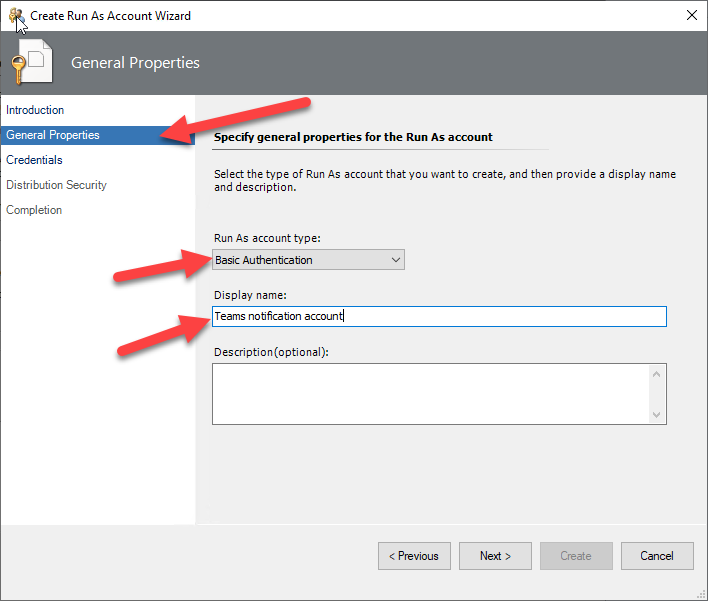
- On the General Properties wizard page of the Create Run As Account Wizard, select Basic Authentication from the Run As account type and enter a descriptive name for your Run As account in the Display Name field.
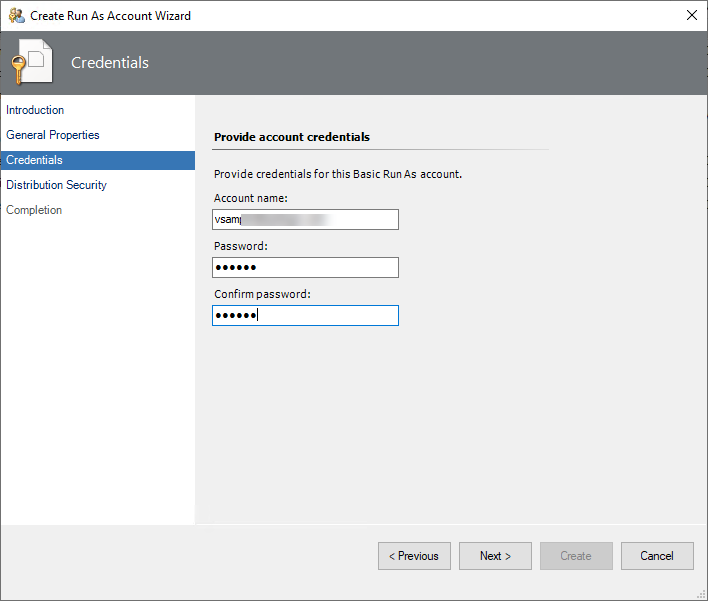
- The credentials used in this step must be credentials that have access to the Teams channel in which you are planning to post the SCOM alert notifications. Note that the notifications posted in Teams will show as posted by this account. The account name must be entered as an email address.
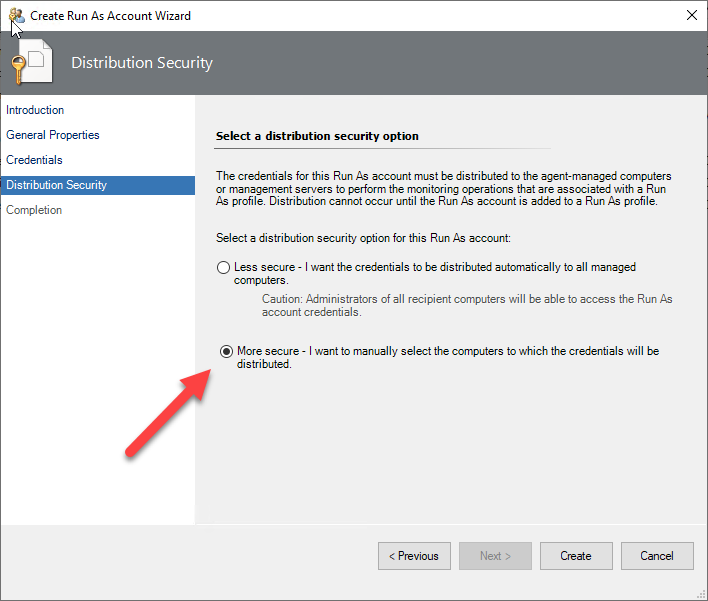
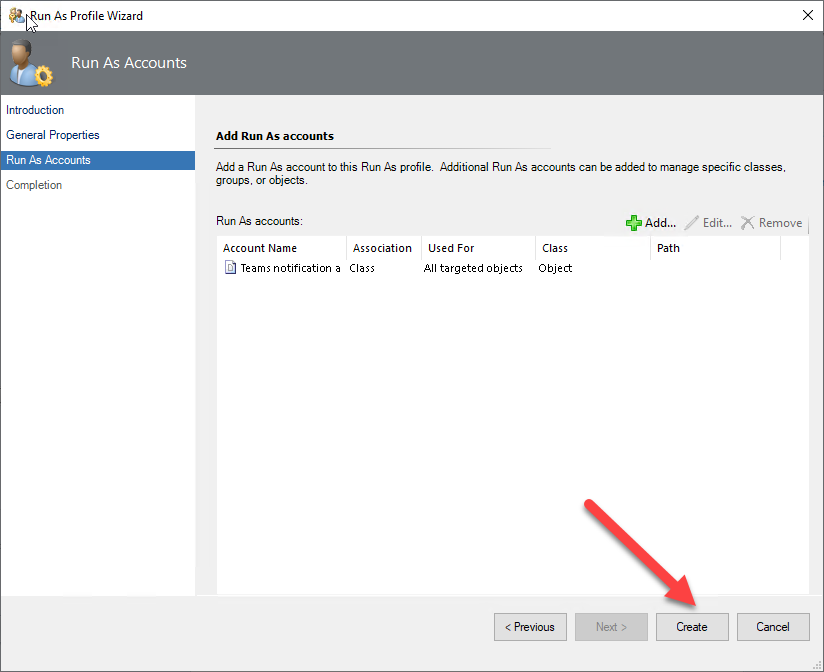
- In this example we will use the More secure distribution option for the Run As account. Click the Create button.
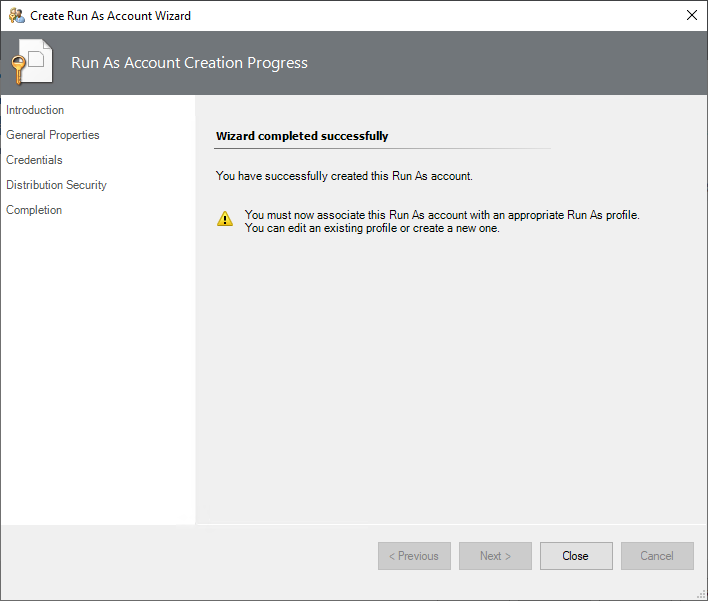
- Click the Close button.
- Click the OK button.
- Click the Create button.
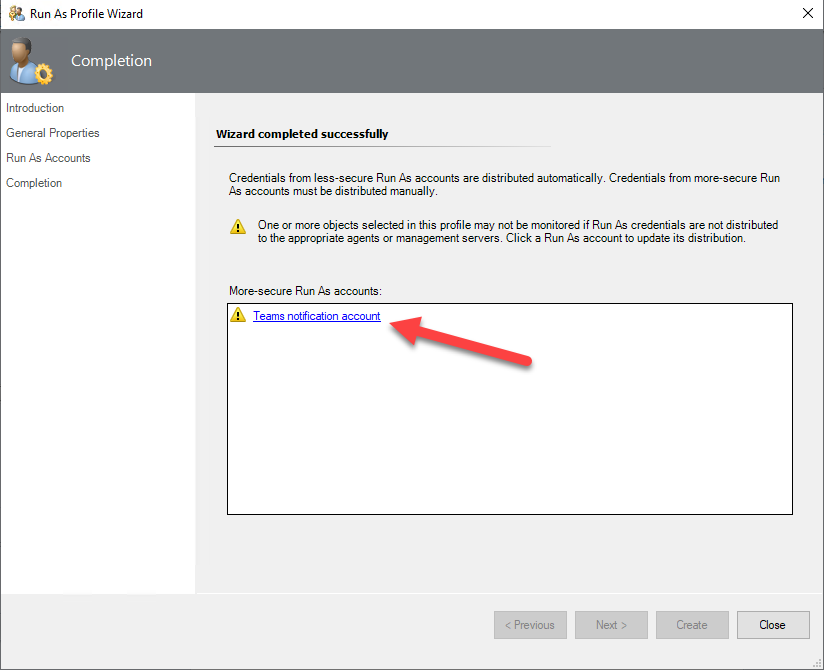
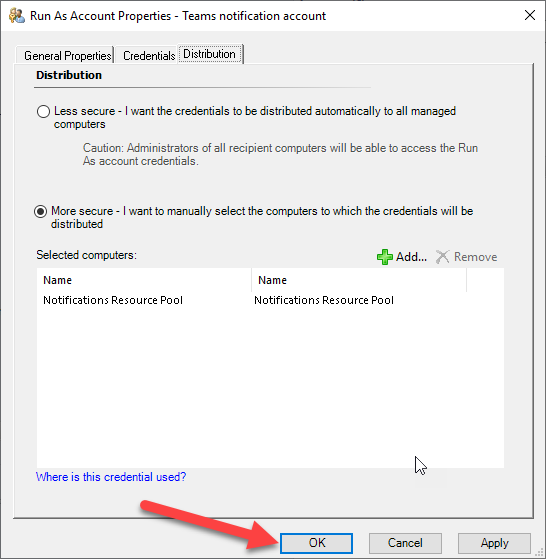
- To make the Run As account more secure click the link (in our example Teams notification account) under More-secure Run As accounts.
- On the Distribution tab click the Add... button.
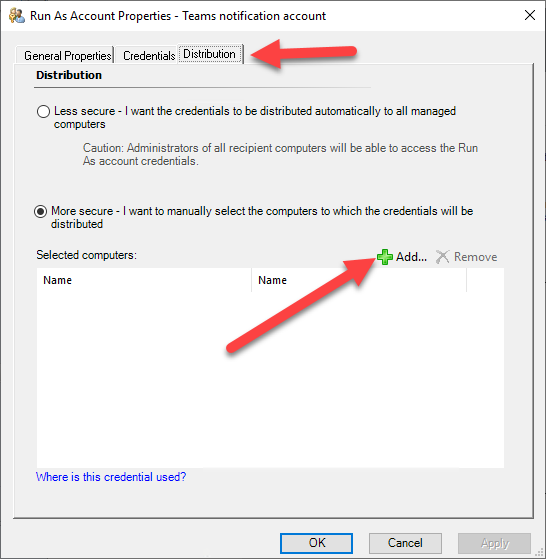
- On the Computer Search dialog, select Search by resource pool name from the Option dropdown. Then enter notification in the Filter by (optional) field and click the Search button.
Now select the Notifications Resource Pool from the Available items list and click the Add button, then click the OK button.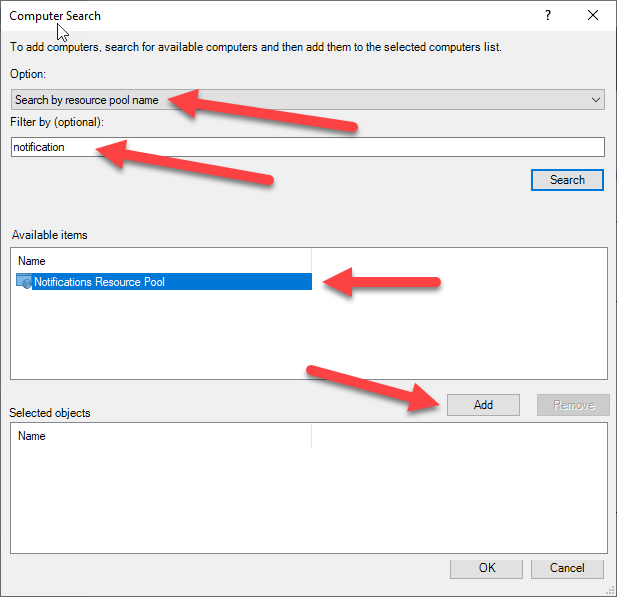
- Click the OK button to exit the wizard.
Creating a Notification Channel
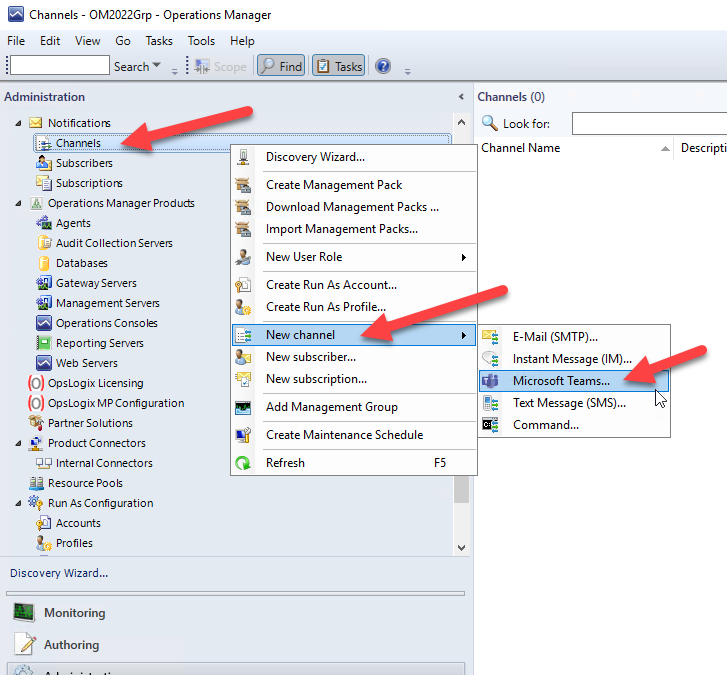
- Navigate to Channel -> New Channel -> Microsoft Teams...
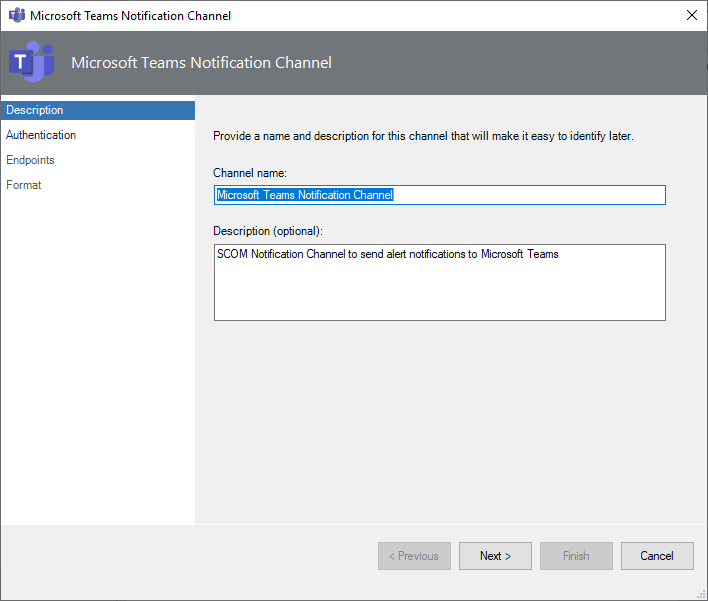
- You do not need to edit anything on this wizard page, so click Next.
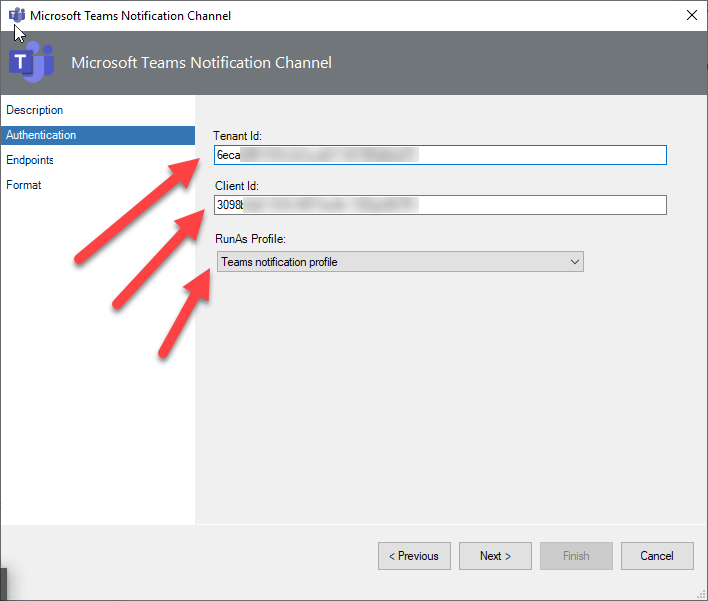
- Fill in the Tenant ID and Client ID that you copied from the Azure App at the beginning of this blog. Make sure that you select the notification profile you created before under RunAs Profile, in our example Teams notification profile.
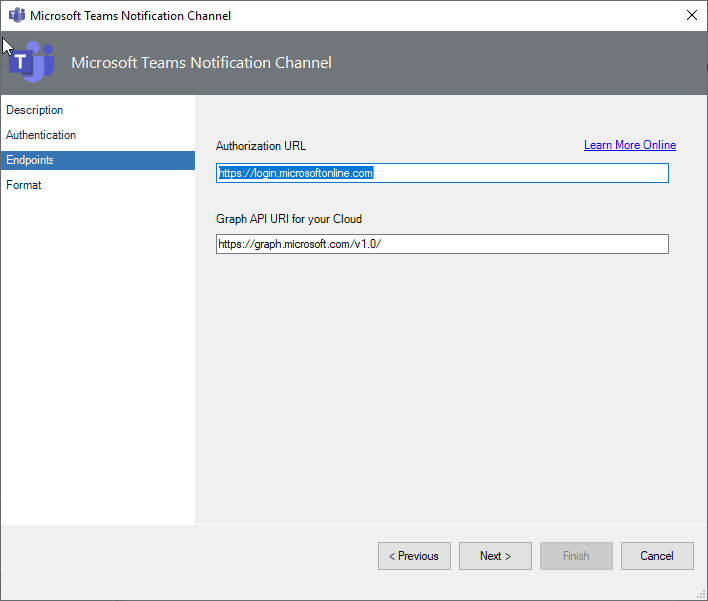
- You do not need to edit anything on this wizard page, so click Next.
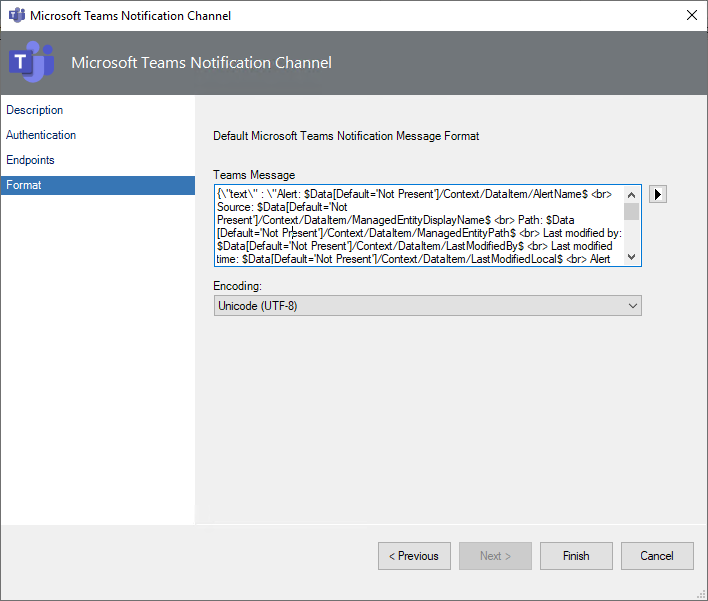
- On this wizard page you can alter the format of the alert notifications sent to Teams. You con find more information on how to format the alert notifications here.
Creating a Notification Channel
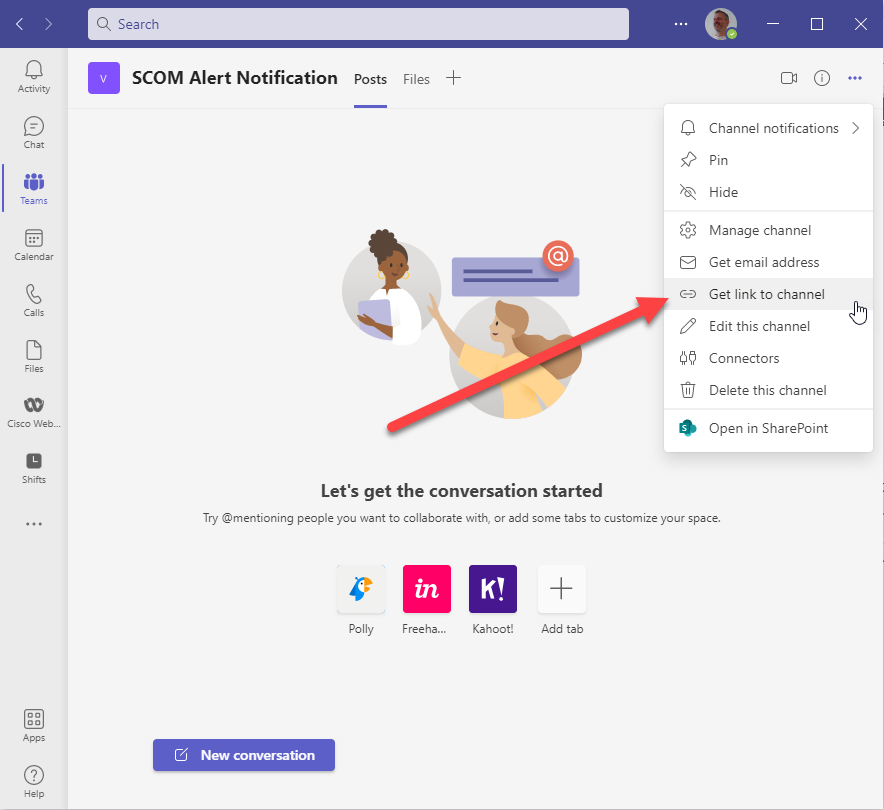
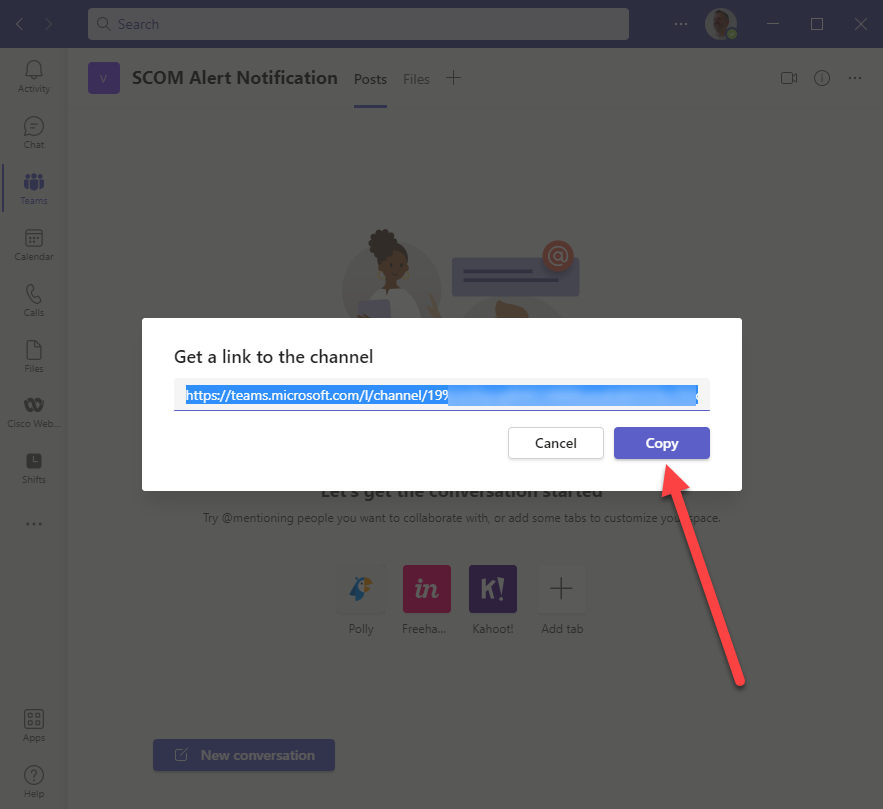
- The notification channel will push the alert notifications to a specified Teams channel. In Teams go to the channel of a Team in which you would like to receive the alert notifications. On click the three dots on the top left of the page and select Get link to channel.
- Copy the link by clicking the Copy button and save the link for later use.
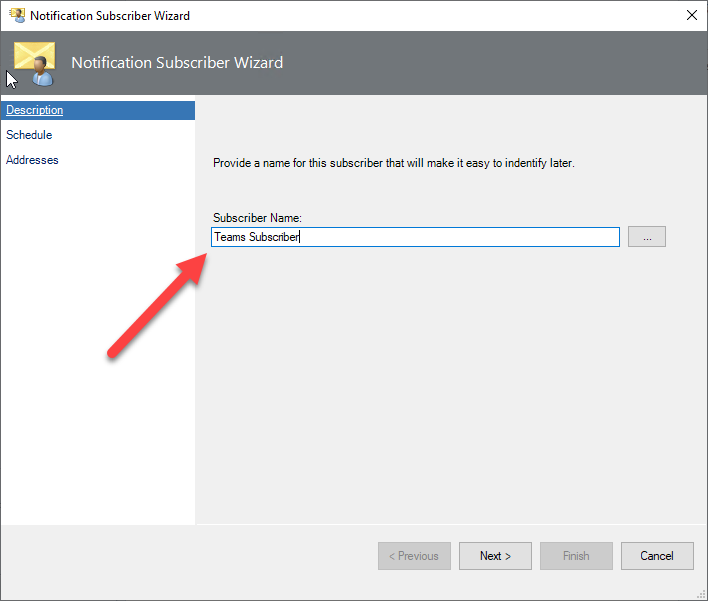
- Go back to the SCOM console and navigate to the Administrator section. Right click Subscribers and the click New subscriber.

- In the Notification subscriber wizard enter a descriptive name in the Subscriber name field.
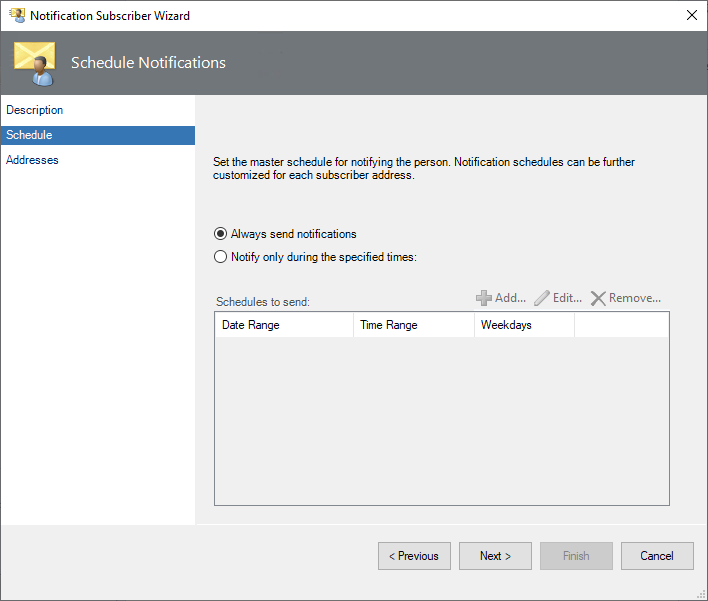
- On the Schedule wizard page you can alter the times on which the alert notifications are sent. By default the alert notifications will always be sent.
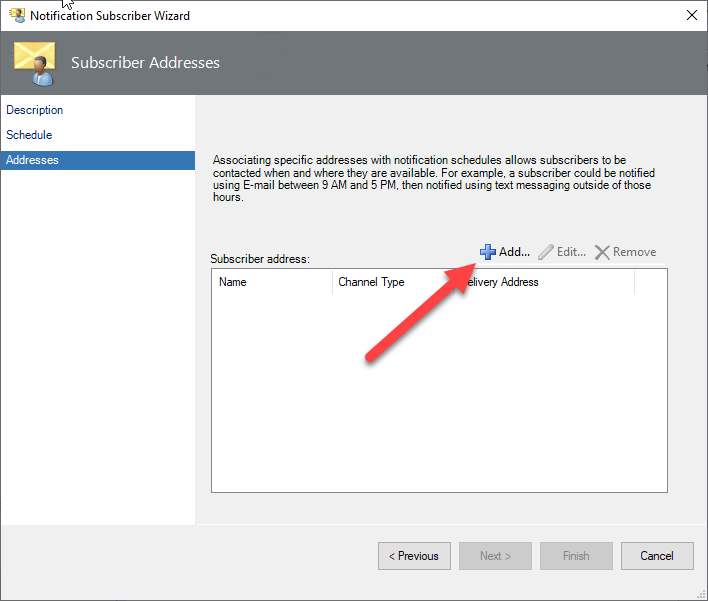
- We need to add a subscriber address, so click the Add button.
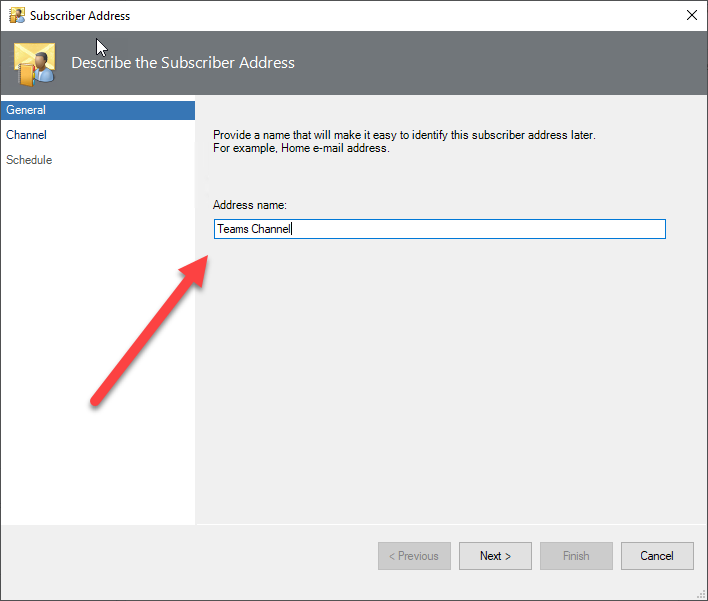
- Enter a descriptive name in the Address name field and click Next.
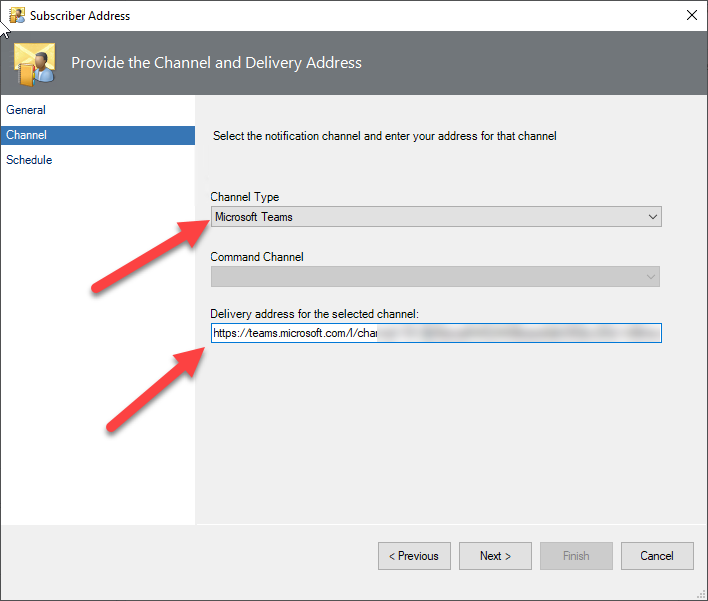
- On the Channel wizard page select the Microsoft Teams channel from the dropdown and paste the url you copied in step 2 into the Delivery address for the selected channel field.
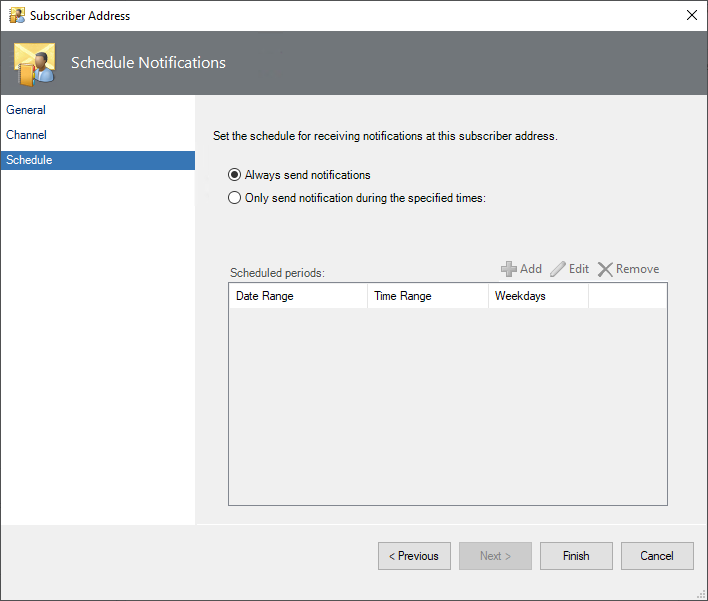
- If you want to always receive alert notifications for this subscriber address leave the settings default and click Finish.
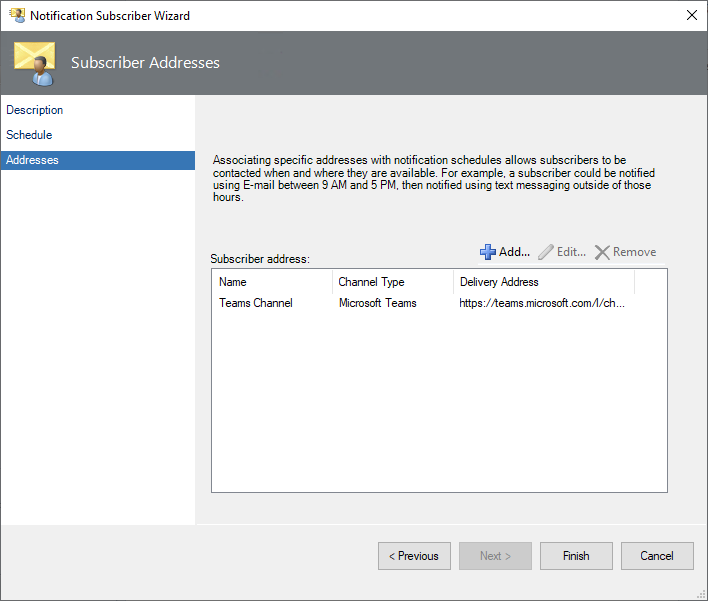
- Click Finish to close the Wizard.
Creating a Subscription
the last thing we have to do is subscribe to the notification channel.
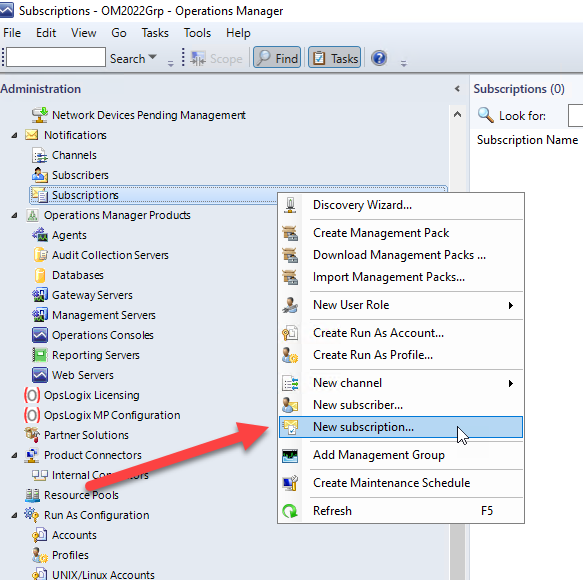
- In the SCOM console navigate to the Administrator section. Right click Subscriptions and the click New subscription.
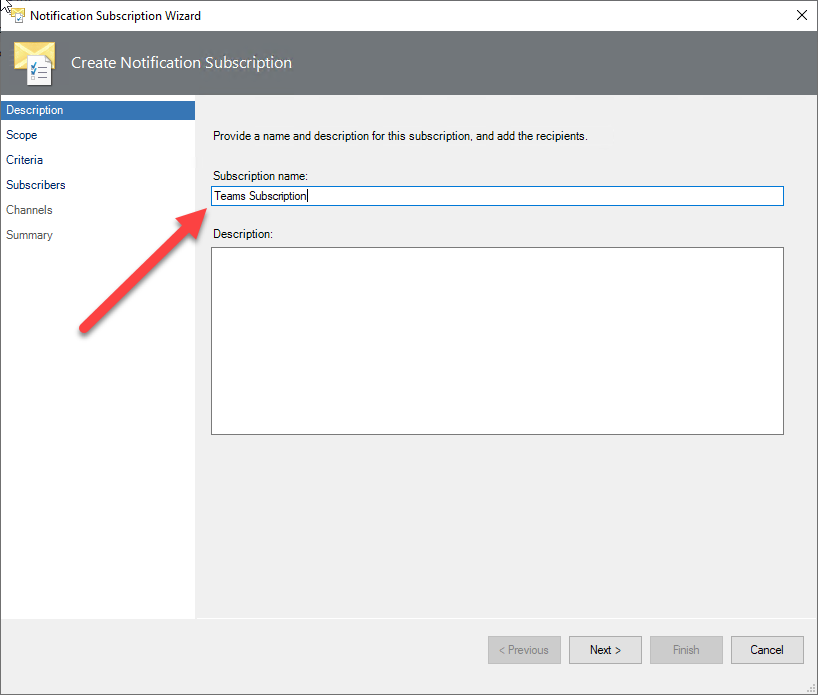
- Give the subscription a descriptive name in the Subscription name field.
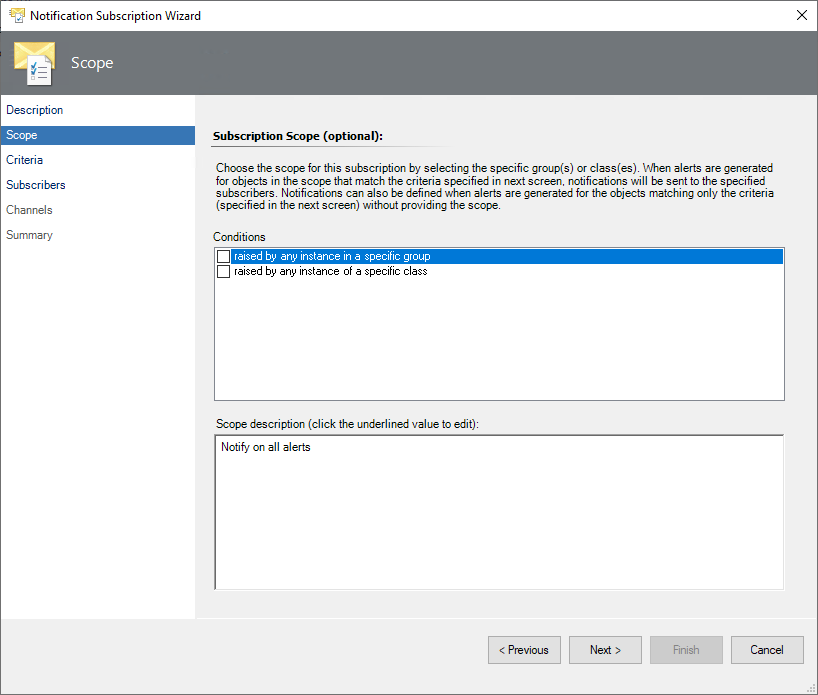
- On the Scope wizard page, leave the settings default if you would like to receive notifications for all alerts in SCOM.
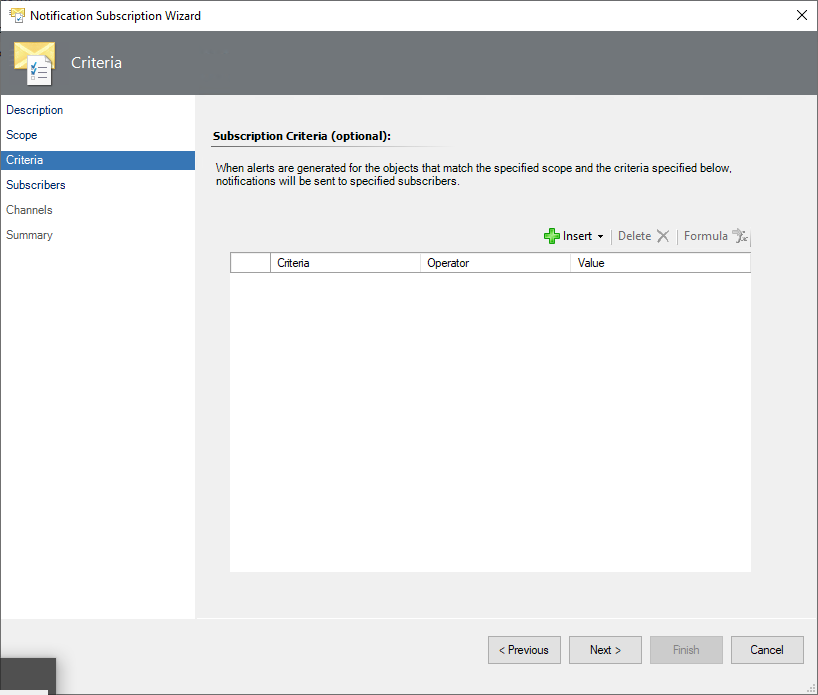
- If you want to filter alert notifications which you forward to Teams, you can do it on the Criteria wizard page. By default all alerts are forwarded if you don't specify any criteria.
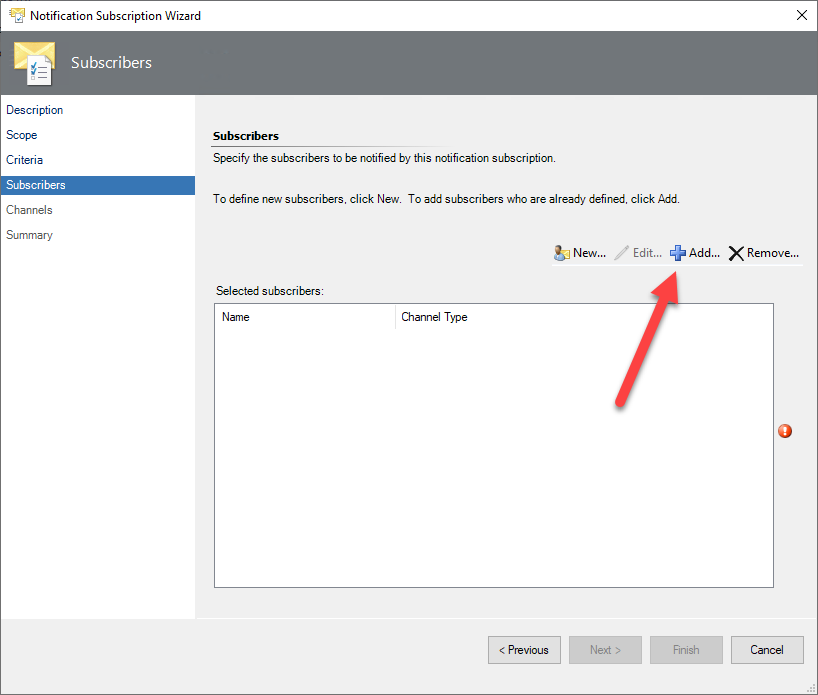
- Click the Add button to add a new subscriber.
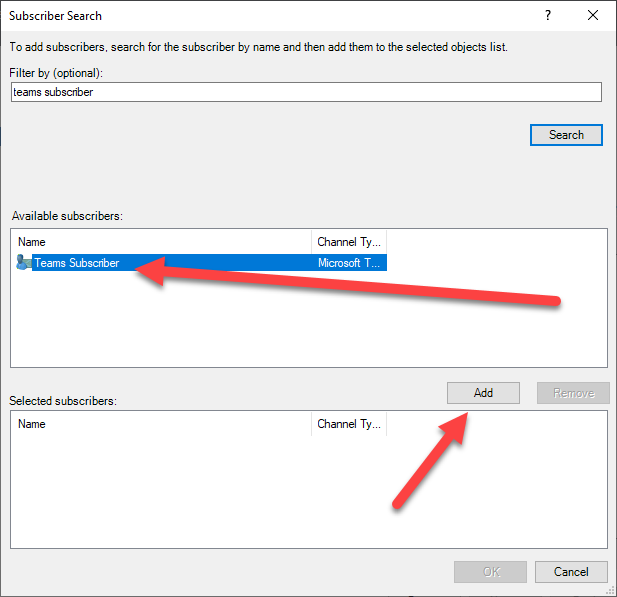
- Search for the subscriber you previously created (in our example Teams Subscriber) and click the Add button to add it to the Selected subscribers.
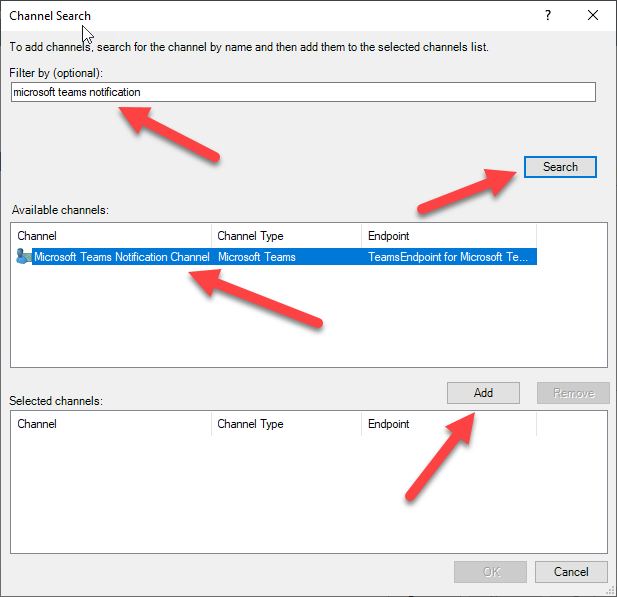
- On the Channels wizard page click the Add button to add a channel.

- Search for the notification channel you previously created (in our example Microsoft Teams Notification Channel) and click the Add button to add it to the Selected channels.
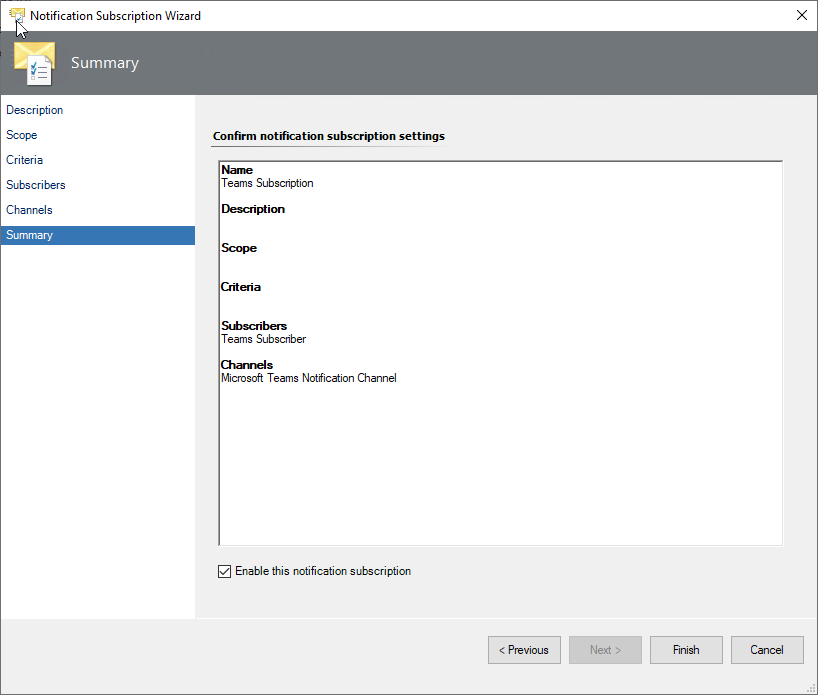
- Click Finish to exit the Wizard.
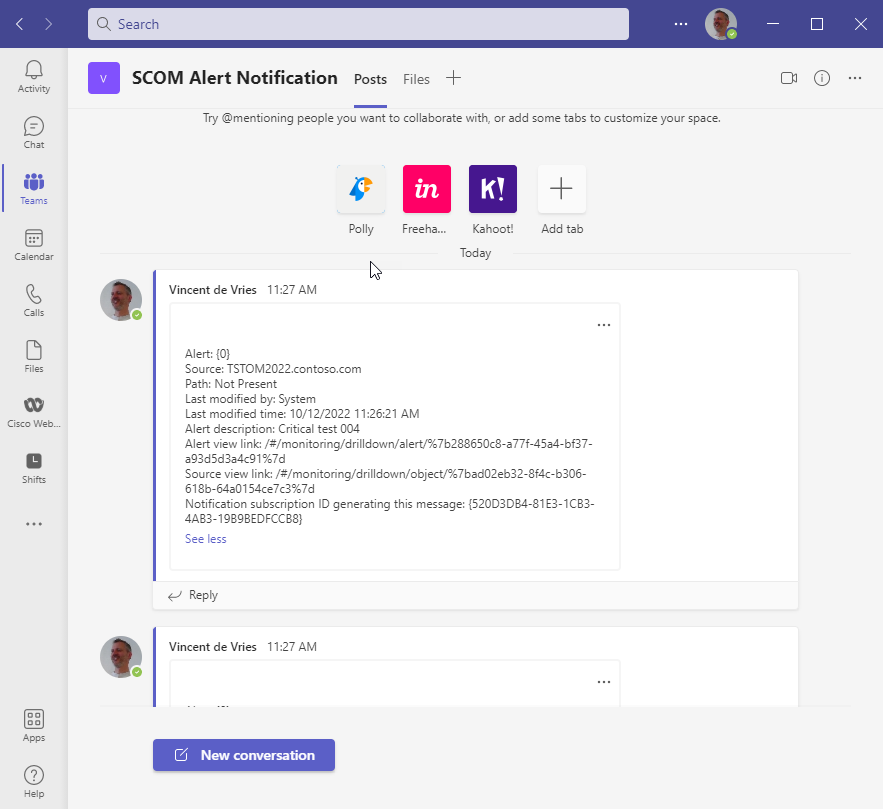
If all went well we should now receive alert notifications in our Teams channel! Note that the notifications are generated by the account you specified in the Run As Account settings.
The notifications you receive through this connector do not allow you to interact with SCOM itself, if you would like to be able to close alerts, view performance data, set maintenance mode or run a recovery task, take a look at our free Teams connector for SCOM here.